Knowledgebase
Media

There are several options how to insert video to the website :
Option 1 (insert media player, e.g., YouTube):
Adding Youtube:
Drag & drop "Media" from main toolbar;
Choose Youtube composition;
Write "URL or ID" in right toolbar.
Customising video:
Size:
Adjust video size or "Allow to adjust size automatically" in right toolbar.
Option 2 (upload video from your computer, it will be played as a background):
Select "Shape" widget and choose shape composition;
Click background in right toolbar;
Choose Image/Video and click ;
Click "Upload New File", choose video, click open, and click "Select";
Under the video choose the backgrounds video settings: opacity; start time and end time;
Video will be played with no sound.
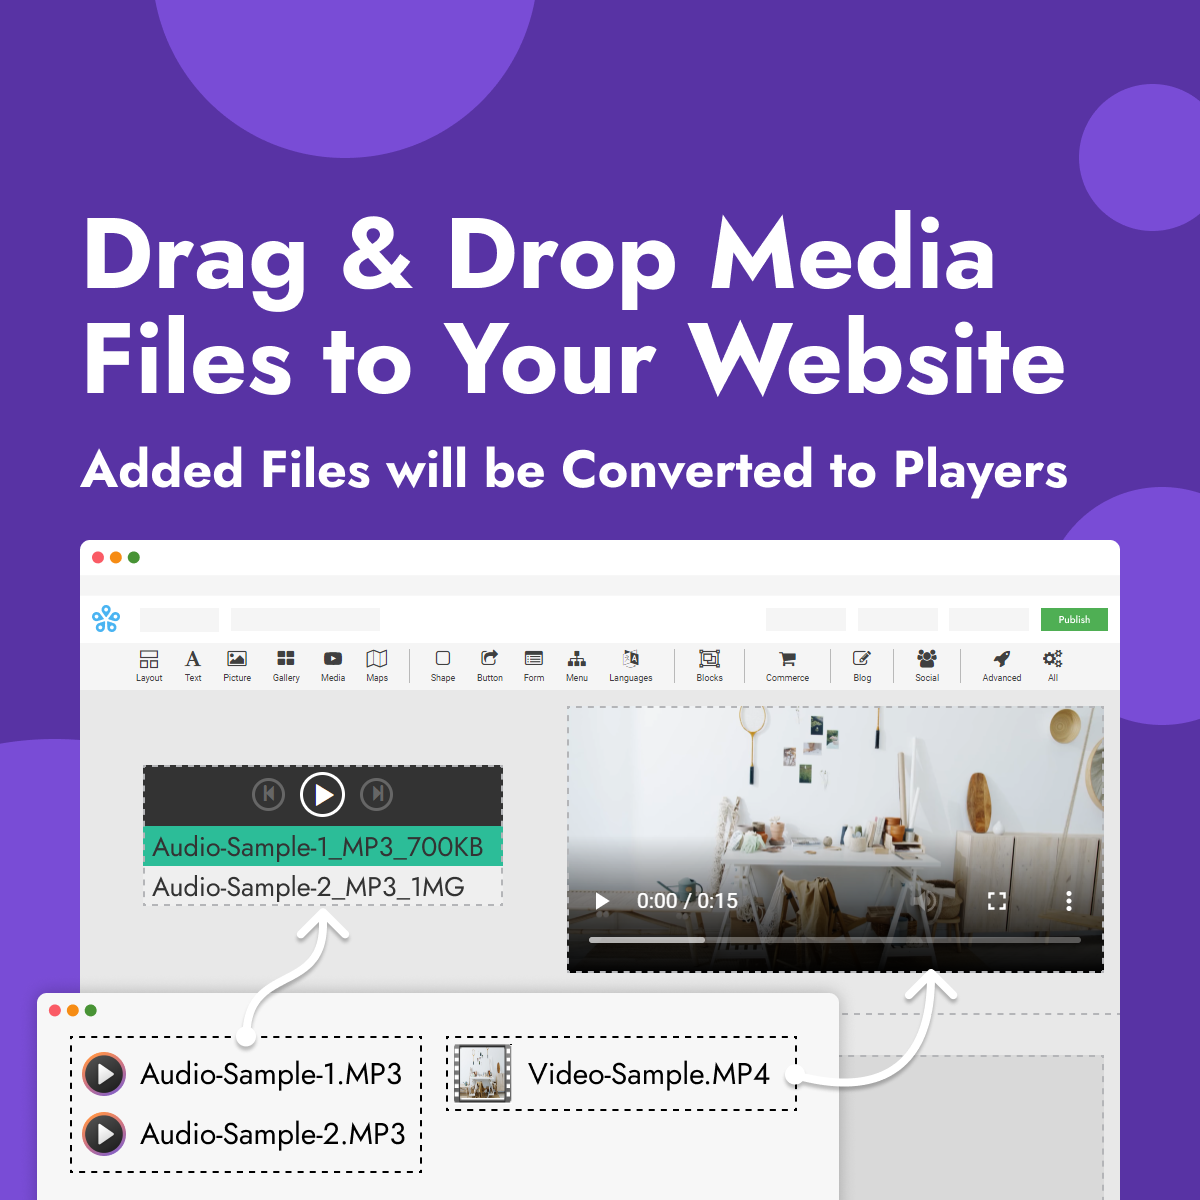
Note. You can just drag and drop video file from your computer to website builder.
Option 3 (upload video from your computer):
Select "Advanced" widget and choose "Custom Html";
In the right toolbar "Custom Html" tab, select HTML code by clicking on a pencil icon;
Insert this code:
<video style="width: 100%; height: 100%; position: relative; z-index: 2;" src="VIDEO_FILE" controls>
Your browser does not support the video tag.
</video>
Select "VIDEO_FILE" (without quotes) and delete it;
Click "Click to add file(s)" button in top right corner to choose your video file;
Click "Upload New File", choose video, open, click "Select", and click "Apply" button;
Video will be played with sound.
Note. You can just drag and drop video file from your computer to website builder.
Such behaviour is intended for iOS and iPadOS devices.
Image scrolling is disabled for iOS and iPadOS devices due to performance limitations implemented by Apple. Since this limitation comes from the hardware and software manufacturer, our website builder cannot bypass it.
Please note, that other devices (for example, Android phones, Windows PC, and MacOS) will be able to scroll the background image without any issues.
Adding picture:
Drag & drop "Picture" from main toolbar;
Choose picture composition;
Select picture from free gallery or upload your picture;
Note. You can also drag & drop image from your computer.
Editing picture:
Select picture and click "Change Picture" on context toolbar;
Select media:
Click "Upload new picture" in "Template Gallery" tab;
Select "Free Gallery" tab and type in the search bar the picture you need and click search icon;
Select "Picture URL" tab, write picture URL and click "Import into gallery" button.
Customising picture:
Crop:
Click icon on image and move/resize orange cropping area or manually enter picture crop size to change visible area of the picture. Click checkmark to save changes in lower right corner.
Rotation:
Click icon on image to rotate it clockwise.
Opacity:
Adjust picture opacity in right toolbar.
Alternative text:
Write "Information for an image if a user for some reason cannot view it".
Border:
Click border in right toolbar. Select width, colour and style for border.
You can also select to have different borders and different corners
Shadow:
Click shadow in right toolbar. Select distance, size, blur, colour and style for shadow.
On click management:
Select picture and click to "Enlarge picture on click" in right toolbar or select URL and write link properties in pop-up window.
Size:
Adjust picture size by selecting "Width" and "Height". For best results, we recommend using "Auto" setting in right toolbar for "Height".
Adding gallery:
Drag & drop "Gallery" from main toolbar;
Choose Background gallery composition;
Select gallery layout and click Background element editing button in right toolbar;
Click "Gallery Pictures" ;
Click "Add Pictures" to upload pictures;
Click "Size" in right toolbar;
Set gallery size or "Allow to adjust size automatically" in right toolbar.
Customising gallery:
Select gallery layout and click Background element editing button in right toolbar;
Gallery pictures:
Click "Gallery Pictures" to edit pictures title, link, etc.;
Background:
Click "Background colour" to choose background colour/opacity;
Border:
Click "Border" to choose width, colour, etc.;
Gallery types:
Change gallery type and adjust available features for each type;
Captions:
Select "Captions" tab. Set how to show picture caption, caption background colour, etc.;
Options:
Select "Options" tab. Write anchor name, class name, etc.
© Copyright SiteCritter - All Rights Reserved
Logo and graphics courtesy @xAstridx